What is the Installation Process for Goldshell KA BOX PRO?
Cryptocurrency mining has evolved significantly over the years, and with the introduction of compact, efficient miners like the Goldshell KA BOX PRO, even beginners can now participate in this lucrative activity. If you’ve recently acquired the Goldshell KA BOX PRO or are considering adding it to your mining setup, understanding its installation process is crucial to maximizing its potential. This article provides a step-by-step guide to setting up your KA BOX PRO, ensuring a smooth and hassle-free experience.
Introducing the Goldshell KA BOX PRO
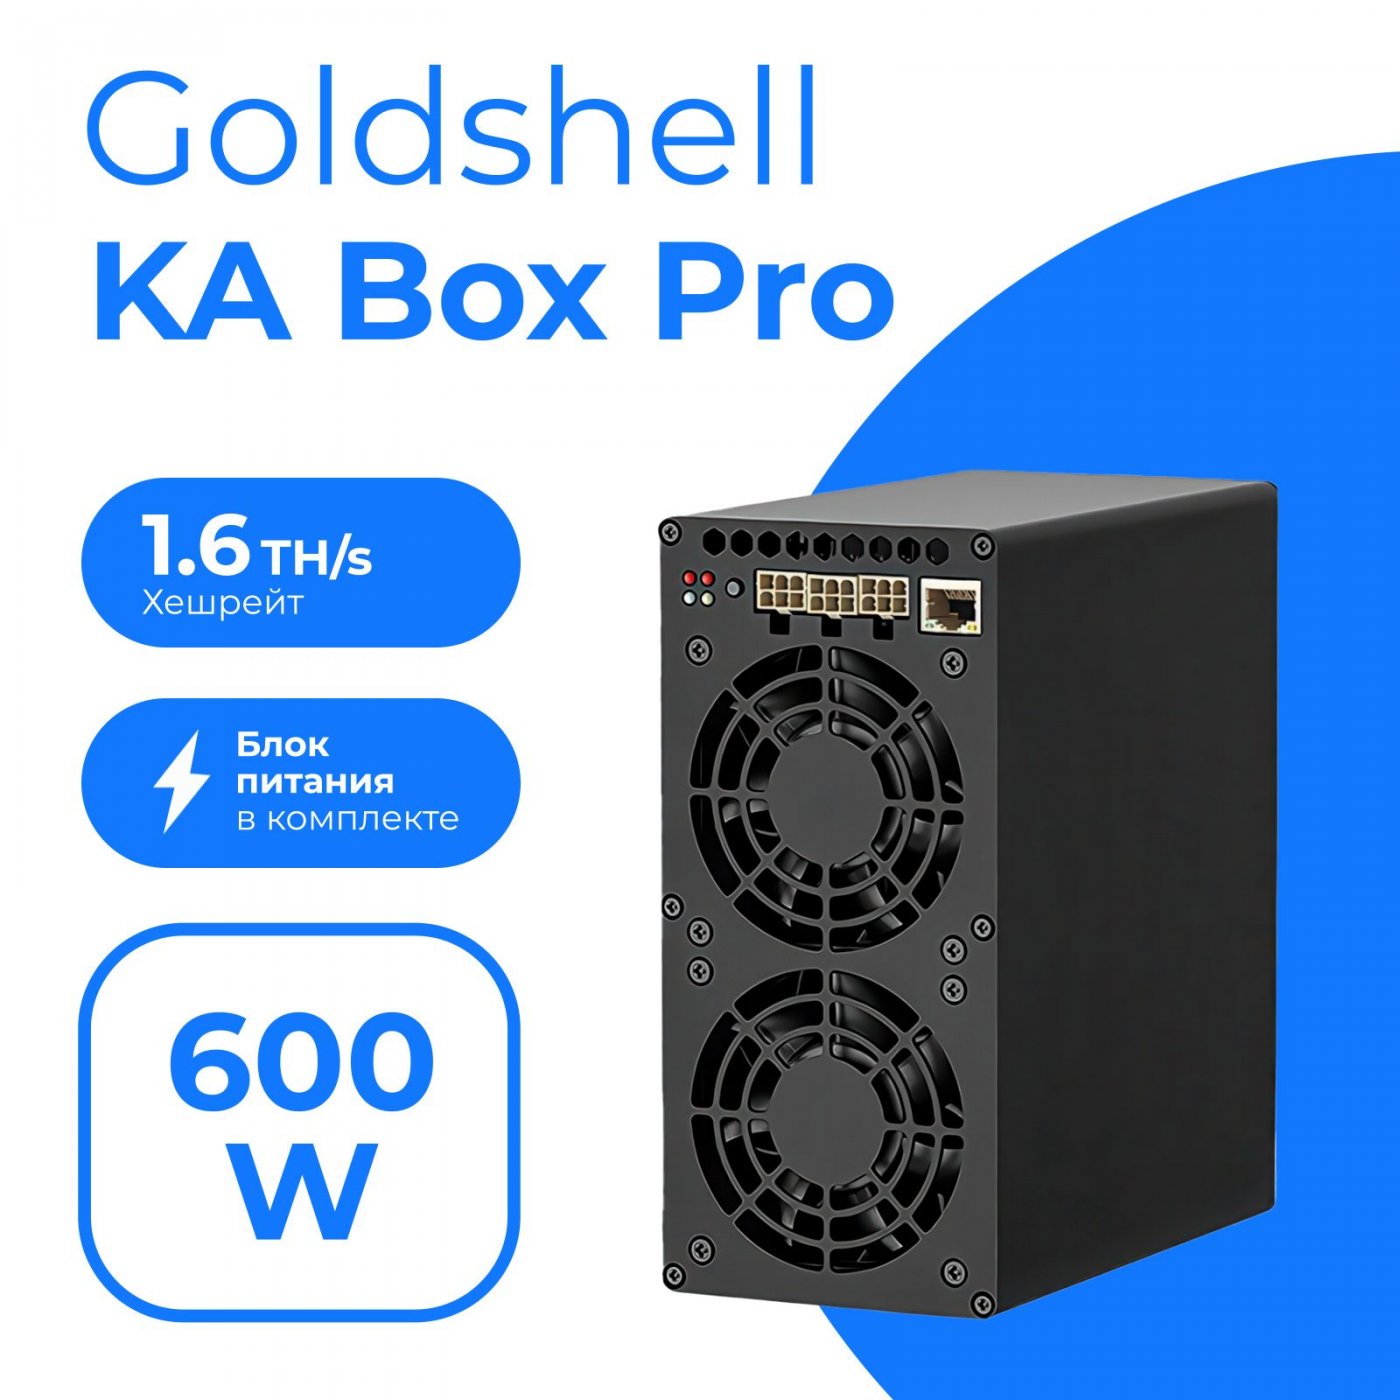
The Goldshell KA BOX PRO is a state-of-the-art mining device specifically designed to mine KASPA (KAS), a promising cryptocurrency that utilizes the kHeavyHash algorithm. This miner combines high performance, energy efficiency, and user-friendly features, making it an excellent choice for both novice and experienced miners. With a hashrate of 1.6TH/s and a power consumption of just 600W, the KA BOX PRO delivers an impressive power efficiency of 375J/TH. Its compact design, whisper-quiet operation (≤35dB), and plug-and-play simplicity make it ideal for home mining setups.
Now that you’re familiar with the basics of the KA BOX PRO, let’s dive into its installation process.
Step 1: Unboxing and Initial Setup
Before you begin, ensure that you have all the necessary components. The KA BOX PRO package typically includes:

- The KA BOX PRO miner
- Three 6-pin power cables
- Ethernet cable
- User manual
Start by carefully unboxing the device and verifying that all components are present and undamaged. Place the miner on a flat, stable surface in a well-ventilated area to ensure proper airflow and cooling.
Step 2: Connecting the Power Supply
The KA BOX PRO operates on a standard 100V-240V input voltage, making it compatible with most power outlets worldwide. However, it requires a 1200W power supply to function optimally. Here’s how to connect the power supply:
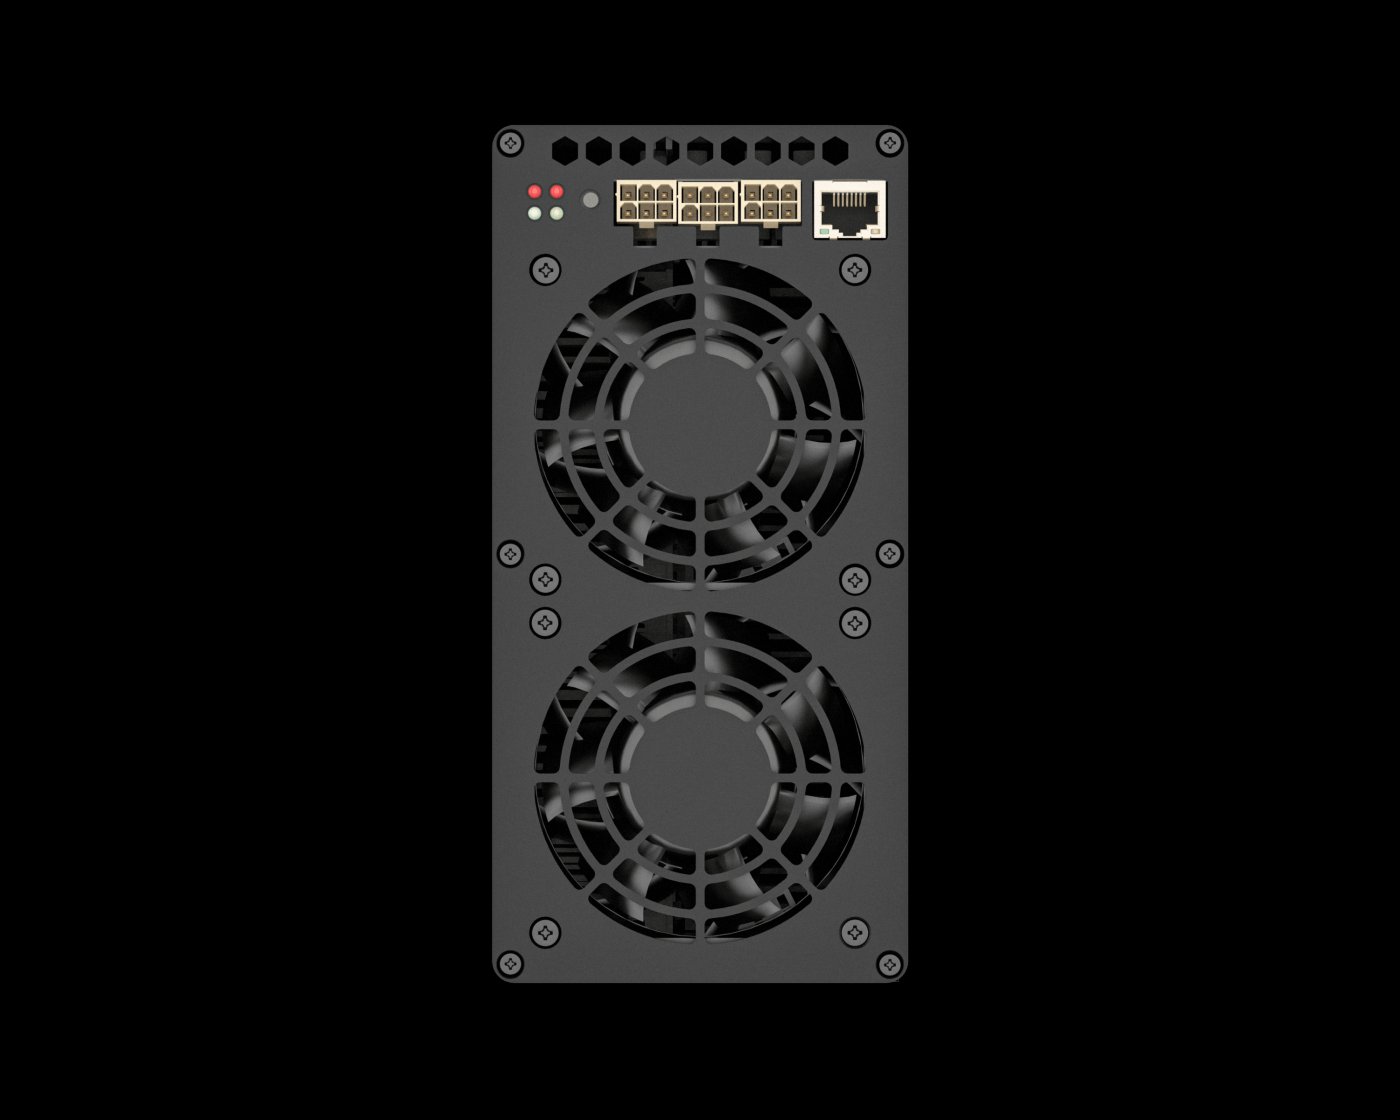
- Attach the Power Cables: Plug the three 6-pin power cables into the corresponding ports on the miner. Ensure that the connections are secure to avoid any power interruptions.
- Connect to the Power Supply: Attach the other end of the power cables to the power supply unit (PSU). If you’re using a modular PSU, ensure that the correct ports are utilized.
- Power On: Once all connections are secure, switch on the power supply. The miner should power up automatically, indicated by LED lights on the device.
Step 3: Establishing Network Connectivity
To start mining, the KA BOX PRO needs to be connected to the internet. Follow these steps to set up the network connection:
- Ethernet Connection: Use the included Ethernet cable to connect the miner to your router or modem. Wired connections are recommended for stability and reduced latency.
- Wi-Fi Option (if applicable): If your miner supports Wi-Fi, refer to the user manual for instructions on configuring the wireless connection. Note that wired connections generally offer better performance for mining.
Step 4: Accessing the Miner’s Interface
Once the miner is powered on and connected to the network, you’ll need to access its web-based interface to configure the mining settings. Here’s how:
- Find the IP Address: Check your router’s connected devices list or use a network scanning tool to locate the KA BOX PRO’s IP address.
- Log In: Open a web browser and enter the miner’s IP address in the address bar. You’ll be prompted to log in using the default credentials (typically “admin” for both username and password). For security, change the default password after your first login.
Step 5: Configuring Mining Settings
With the miner’s interface accessible, it’s time to configure the mining settings:
- Select a Mining Pool: Choose a reliable mining pool that supports KASPA. Popular options include F2Pool, Poolin, and MiningPoolStats. Enter the pool’s URL and your wallet address in the designated fields.
- Adjust Hashrate and Power Settings: The KA BOX PRO allows you to fine-tune its hashrate and power consumption based on your preferences. While the default settings are optimized for efficiency, advanced users can experiment with these parameters to maximize returns.
- Save and Apply Changes: After configuring the settings, save and apply the changes. The miner should now start mining KASPA and display real-time statistics such as hashrate, temperature, and earnings.
Step 6: Monitoring and Maintenance
To ensure optimal performance, regularly monitor your KA BOX PRO using its web interface or a dedicated monitoring app. Key metrics to watch include:
- Temperature: Ensure the miner operates within the recommended temperature range (typically 0°C–40°C).
- Hashrate: Verify that the miner is consistently achieving its rated hashrate.
- Fan Speed: Check that the cooling fans are functioning properly to prevent overheating.
Additionally, perform routine maintenance tasks such as cleaning dust from the vents and inspecting the power cables for wear and tear.
Product Advantages: Why Choose the Goldshell KA BOX PRO?
- Unmatched Efficiency: With a hashrate of 1.6TH/s and power consumption of just 600W, the KA BOX PRO offers exceptional energy efficiency, reducing operational costs.
- Beginner-Friendly: The plug-and-play design and intuitive interface make it easy for newcomers to start mining without technical expertise.
- Quiet Operation: Operating at ≤35dB, the KA BOX PRO is one of the quietest miners available, making it suitable for home environments.
- Reliability and Support: Backed by a 180-day warranty and readily available spare parts, the KA BOX PRO ensures peace of mind and long-term usability.
- Compact Design: Its small footprint and lightweight design allow for flexible placement in various settings.
Final Thoughts
The Goldshell KA BOX PRO is a powerful, efficient, and user-friendly mining device that opens the door to cryptocurrency mining for enthusiasts of all experience levels. By following the installation process outlined in this article, you can quickly set up your miner and start earning KASPA. Whether you’re a seasoned miner or just starting out, the KA BOX PRO is a reliable investment that combines performance, convenience, and affordability. Start your mining journey today and unlock the potential of decentralized finance with Goldshell’s cutting-edge technology.