How to Replace the Power Supply in Goldshell AL BOX II PLUS ALPH Miner 1T
Cryptocurrency mining has evolved significantly over the years, with compact and efficient miners like the Goldshell AL BOX II PLUS ALPH Miner 1T leading the charge. Designed for both beginners and seasoned miners, this miner offers an impressive 1TH/s±5% hashrate while maintaining energy efficiency at just 480W±5%. However, like any hardware, the power supply unit (PSU) is a critical component that may require replacement over time due to wear and tear or performance issues. In this guide, we’ll walk you through the process of replacing the power supply in your Goldshell AL BOX II PLUS ALPH Miner 1T, ensuring your mining operations remain uninterrupted.
Why Replace the Power Supply?
The power supply is the lifeline of your mining rig, converting AC power from your outlet into the DC power needed by the miner. Over time, PSUs can degrade due to prolonged use, overheating, or power surges. Signs that your PSU may need replacement include:
- Frequent miner shutdowns or reboots
- Unstable hash rates
- Audible buzzing or humming noises from the PSU
- Visible damage to the power cables or connectors
Replacing the PSU ensures your miner operates efficiently and safely, reducing the risk of downtime or hardware damage.
Understanding the Goldshell AL BOX II PLUS ALPH Miner’s Power Requirements
Before replacing the PSU, it’s essential to understand the power requirements of the AL BOX II PLUS ALPH Miner:
- Power Consumption: 480W±5%
- Input Voltage: 110-240V AC
- Output Voltage: 12V DC
- Connector Type: Standard PCIe 6-pin or 8-pin connectors
These specifications ensure compatibility with most high-quality PSUs designed for mining rigs. When selecting a replacement PSU, opt for one with a wattage rating slightly higher than the miner’s requirements (e.g., 600W) to provide a buffer for stable operation.
Step-by-Step Guide to Replacing the Power Supply
#### Step 1: Gather Your Tools and Replacement PSU Before starting, ensure you have the following:
- A compatible PSU (e.g., 600W with PCIe connectors)
- Screwdrivers (Phillips and flathead)
- Anti-static wrist strap (optional but recommended)
- Replacement power cable (if necessary)
#### Step 2: Power Down and Disconnect the Miner Shut down the miner and disconnect it from the power source. Allow the device to cool for at least 10 minutes to avoid handling hot components.
#### Step 3: Open the Miner’s Casing Using a Phillips screwdriver, carefully remove the screws securing the miner’s outer casing. Gently lift the casing to expose the internal components. Be cautious not to damage any cables or connectors.
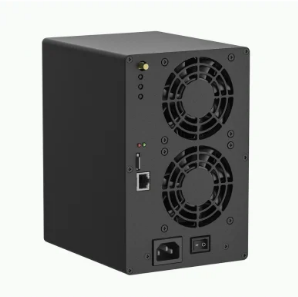
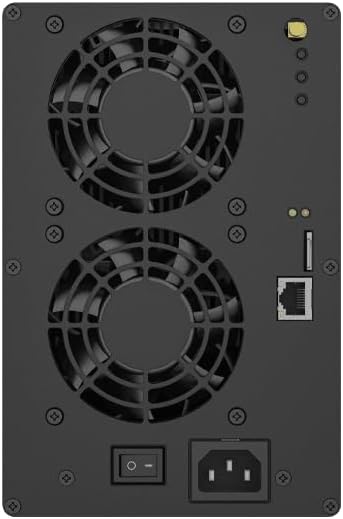
#### Step 4: Locate and Disconnect the Existing PSU Identify the existing PSU, which is typically mounted near the power input port. Disconnect all power cables connected to the miner’s motherboard and other components. Take note of the cable routing to simplify reconnection later.
#### Step 5: Remove the Old PSU Unscrew the mounting screws securing the PSU to the miner’s chassis. Carefully lift the PSU out of the casing, ensuring no cables are left attached.
#### Step 6: Install the New PSU Position the new PSU in the same location as the old one and secure it with screws. Reconnect the power cables to the miner’s motherboard and other components, following the same routing as before. Ensure all connections are secure and properly seated.
#### Step 7: Close the Casing and Test the Miner Reattach the miner’s outer casing and secure it with screws. Plug the miner into a power source and turn it on. Monitor the device for any issues, such as unusual noises or error messages. If everything functions correctly, your miner is ready to resume operations.
Tips for Maintaining Your PSU and Miner
- Monitor Temperature: Ensure proper ventilation to prevent overheating, which can shorten the PSU’s lifespan.
- Use a Surge Protector: Protect your miner from voltage spikes with a high-quality surge protector.
- Regular Inspections: Periodically check the PSU and cables for signs of wear or damage.
- Invest in Quality: Always choose a reputable PSU brand to ensure reliability and safety.
Why the Goldshell AL BOX II PLUS ALPH Miner Stands Out
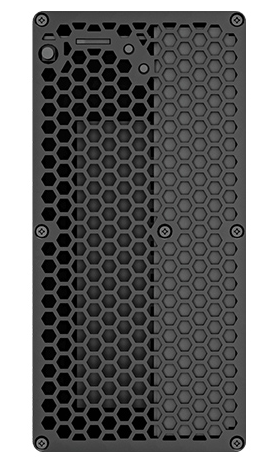
While replacing the PSU is a straightforward process, the Goldshell AL BOX II PLUS ALPH Miner’s design makes maintenance hassle-free. Its compact size (133*163*202mm) and lightweight build (3.76kg) simplify access to internal components. Additionally, the miner’s energy-efficient design (480J/TH) reduces strain on the PSU, extending its lifespan.
The miner’s focus on the Blake3 algorithm and ALPH cryptocurrency also makes it a valuable addition to any mining portfolio. With its beginner-friendly setup, quiet operation (≤45dB), and comprehensive after-sales support, the AL BOX II PLUS ALPH Miner is a reliable choice for home miners and small-scale operations.

Conclusion
Replacing the power supply in your Goldshell AL BOX II PLUS ALPH Miner 1T is a manageable task that can significantly enhance your mining experience. By following this guide, you can ensure your miner continues to operate at peak performance, maximizing your returns on ALPH cryptocurrency. Whether you’re a novice or an experienced miner, understanding how to maintain and upgrade your equipment is key to long-term success in the ever-evolving world of crypto mining.
With its blend of efficiency, simplicity, and durability, the Goldshell AL BOX II PLUS ALPH Miner remains a standout choice for those looking to unlock the potential of the Blake3 algorithm and ALPH cryptocurrency.