How to Connect ICERIVER ALPH AL3 to the Network?
Cryptocurrency mining has evolved significantly over the years, with miners constantly seeking more efficient and powerful equipment to maximize their returns. Enter the ICERIVER ALPH AL3, a cutting-edge Blake3 miner that combines high performance, energy efficiency, and user-friendly design. Whether you’re a seasoned miner or just starting your crypto journey, the AL3 is designed to make your mining experience seamless and profitable. In this guide, we’ll walk you through the process of connecting the ICERIVER ALPH AL3 to your network, ensuring you’re up and running in no time.
Introducing the ICERIVER ALPH AL3
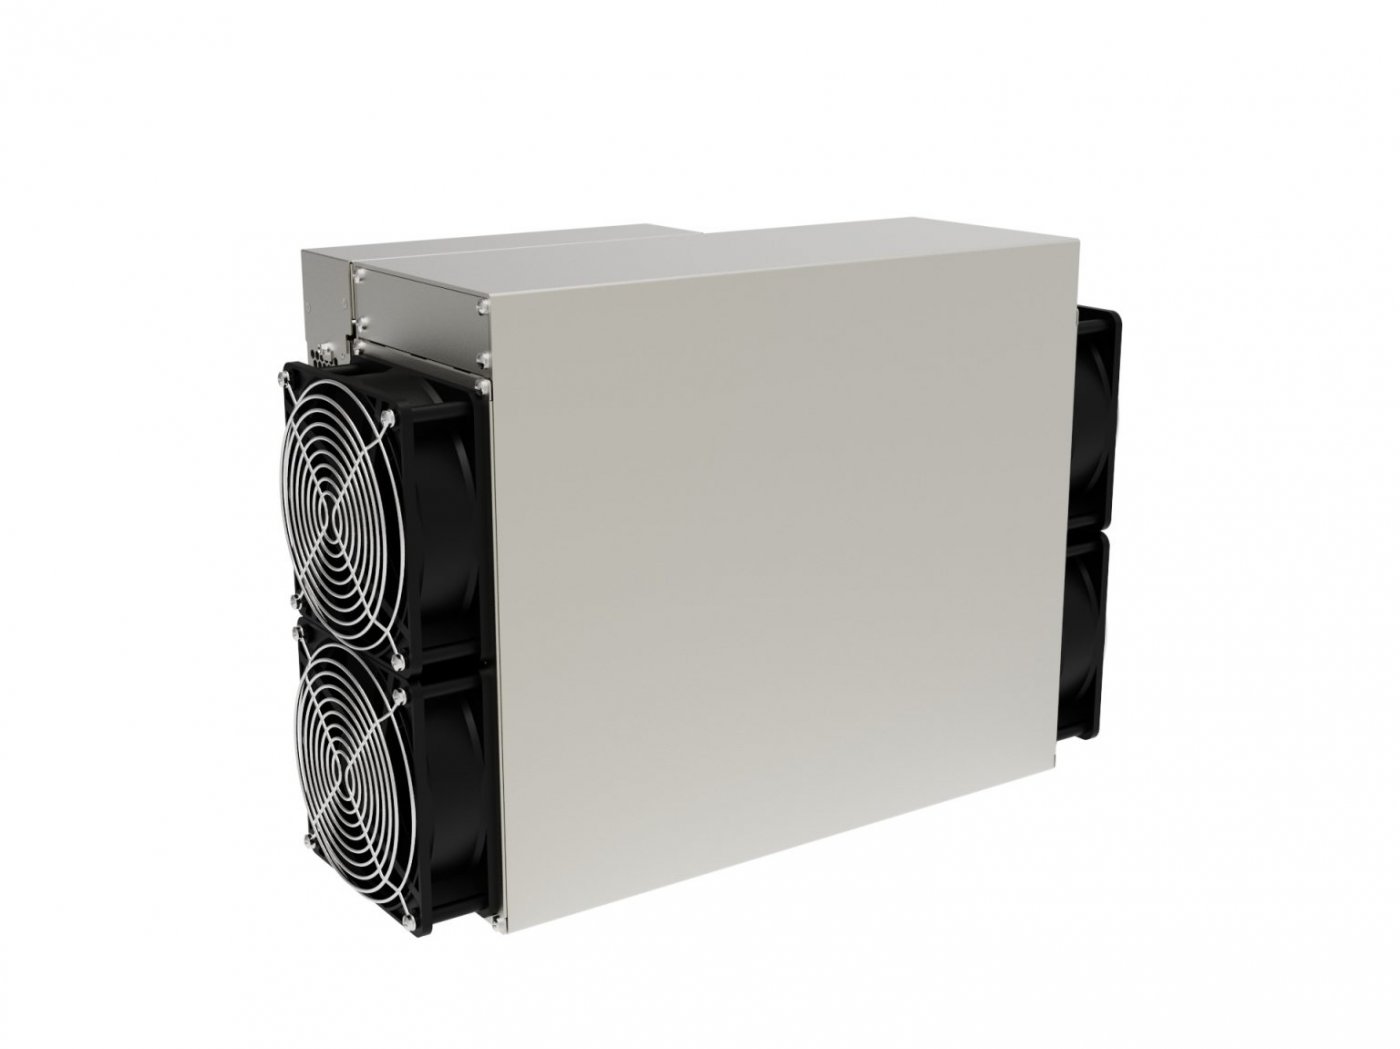
Before diving into the setup process, let’s take a moment to understand what makes the AL3 a standout choice for miners. The ICERIVER ALPH AL3 is a state-of-the-art air-cooled mining rig optimized for the Blake3 algorithm, making it ideal for mining ALPH coins. With an impressive hashrate of 15 Th/s (±10%) and power consumption of 3500W (±10%), this miner strikes a perfect balance between performance and energy efficiency.
One of the AL3’s standout features is its user-friendly design. Whether you’re a beginner or a pro, the intuitive interface and straightforward setup process make it easy to get started. Additionally, its robust construction, compact size (430×195×290mm), and wide operating temperature range (0°C to 35°C) ensure reliable performance in various mining environments.
Step 1: Unboxing and Initial Setup
What’s in the Box?
When you receive your ICERIVER ALPH AL3, ensure the package includes:
- The AL3 miner
- Power supply unit (PSU)
- Ethernet cable
- User manual
Placement and Environment
Before connecting the miner, choose an appropriate location. Ideally, place the AL3 in a cool, well-ventilated area to ensure optimal performance. The miner’s advanced air cooling system is designed to prevent overheating, but proper airflow is still essential.
Step 2: Connecting the Power Supply
The AL3 operates on a wide voltage input range of 170-300V AC, making it compatible with most power setups. Follow these steps to connect the power supply:
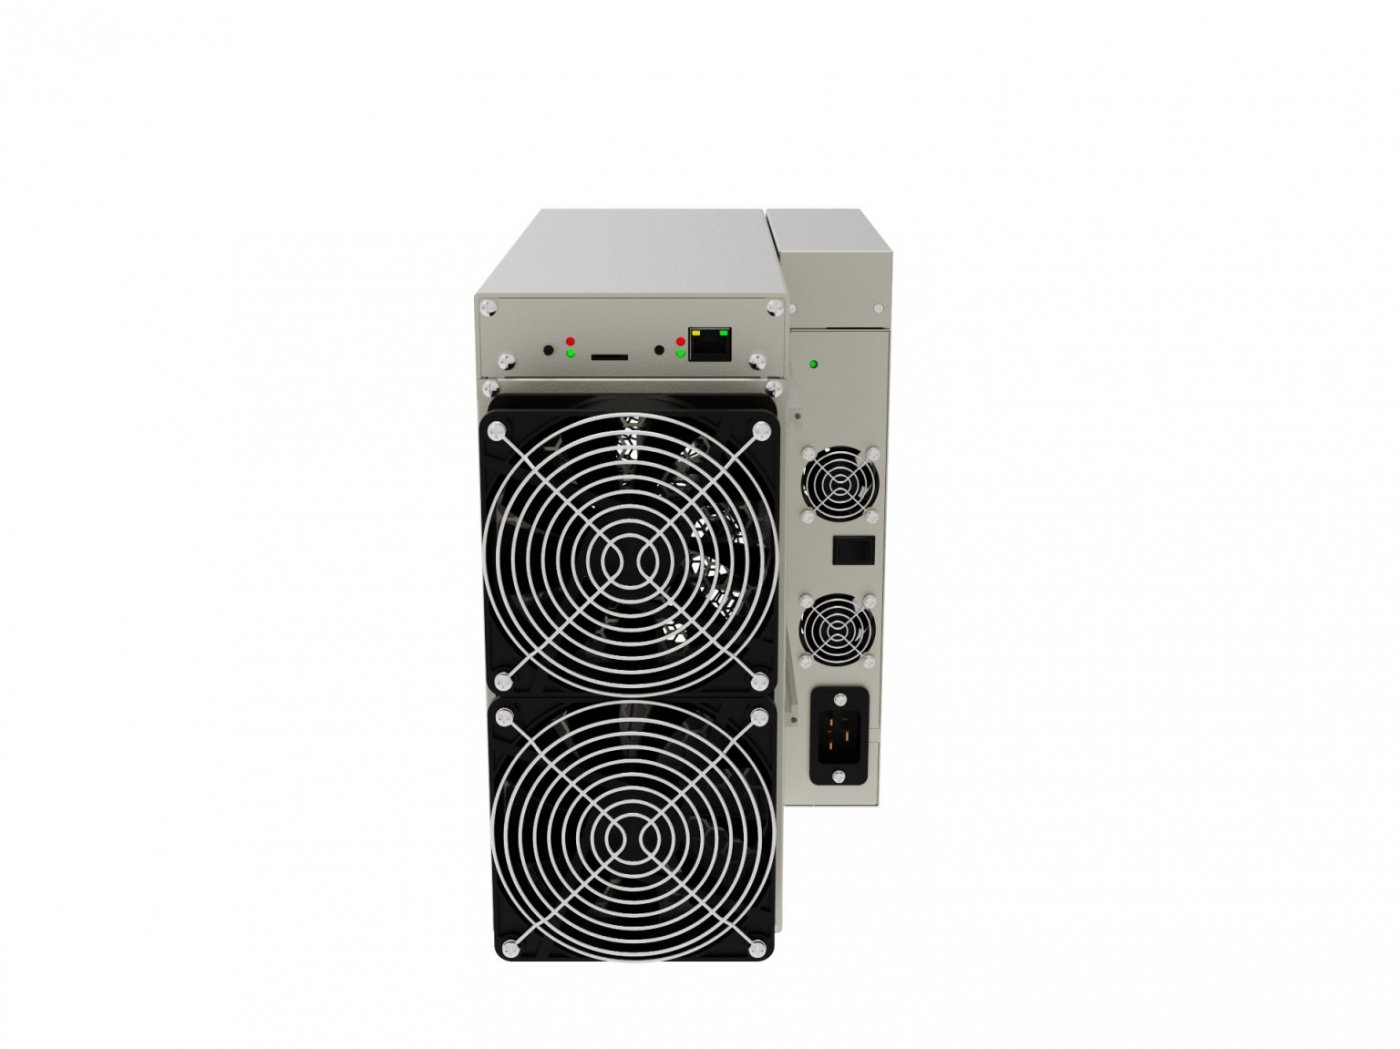
- Locate the Power Input Port: On the back of the miner, you’ll find the power input port.
- Connect the PSU: Plug the power supply unit into the miner and ensure it’s securely connected.
- Power On: Connect the PSU to a power outlet and switch it on. The miner should power up, and you’ll see indicator lights turn on.
Step 3: Connecting to the Network
The ICERIVER ALPH AL3 connects to your network via Ethernet, allowing for seamless remote management and monitoring. Here’s how to set it up:
- Locate the Ethernet Port: On the back of the miner, identify the Ethernet port.
- Connect the Ethernet Cable: Plug one end of the Ethernet cable into the miner and the other end into your router or network switch.
- Check Connectivity: Ensure the miner is successfully connected to the network by checking the indicator lights.
Step 4: Accessing the Miner’s Interface
Once the miner is powered on and connected to the network, you’ll need to access its web interface to configure settings. Here’s how:
- Find the Miner’s IP Address: To locate the miner on your network, check your router’s connected devices list or use a network scanning tool like Angry IP Scanner.
- Enter the IP Address in Your Browser: Open your web browser and type the miner’s IP address into the address bar. This will take you to the miner’s login page.
- Log In: Use the default username and password (usually found in the user manual) to log in. For security reasons, change these credentials after your first login.
Step 5: Configuring Mining Settings
With access to the miner’s interface, you can now configure it for mining. Here’s what you need to do:
- Select a Mining Pool: Choose a mining pool that supports the Blake3 algorithm. Popular options include [insert pool names]. Enter the pool’s URL and port number in the miner’s interface.
- Input Your Wallet Address: Provide the wallet address where you want your mining rewards to be deposited.
- Save Settings: Once everything is configured, save the settings and start the mining process.
Step 6: Monitoring and Maintenance
The ICERIVER ALPH AL3 is designed for ease of use, but regular monitoring is essential to ensure optimal performance. Here’s how to stay on top of your mining operations:
- Monitor Hashrate and Temperature: Use the miner’s interface to keep an eye on the hashrate and internal temperature. If the temperature rises too high, consider improving ventilation or adjusting fan settings.
- Check for Updates: Regularly update the miner’s firmware to benefit from performance improvements and bug fixes.
- Schedule Maintenance: The AL3 features easy-to-replace parts and a sufficient supply of spare components, minimizing downtime. For replacements, consider using Minerfixes’ one-stop service.
Why Choose the ICERIVER ALPH AL3?
The ICERIVER ALPH AL3 isn’t just another mining rig—it’s a game-changer for Blake3 miners. Here are some key advantages that set it apart:
1. Exceptional Hashing Power
With a hashrate of 15 Th/s (±10%), the AL3 outperforms many competitors, enabling you to generate higher rewards and achieve a faster return on investment (ROI).
2. Energy Efficiency
Despite its high performance, the AL3 consumes just 3500W (±10%), helping you maximize profits while minimizing electricity costs.
3. Beginner-Friendly Design
The AL3’s intuitive interface and simple setup process make it perfect for newcomers to the crypto mining world.
4. Optimized for Blake3
Specializing in the Blake3 algorithm, the AL3 is ideal for mining ALPH coins, which show significant potential for appreciation.
5. Reliability and Durability
Built with sturdy construction and backed by a 180-day warranty, the AL3 offers peace of mind and long-term reliability.
Troubleshooting Tips
If you encounter any issues during setup or operation, here are some practical troubleshooting steps:
- No Connectivity: Ensure the Ethernet cable is securely connected and check your router’s settings.
- Overheating: Improve ventilation or reduce the ambient temperature in the mining environment.
- Low Hashrate: Verify that the miner is configured correctly and check for firmware updates.
Final Thoughts
The ICERIVER ALPH AL3 is a powerful, efficient, and user-friendly mining rig that’s perfect for anyone looking to mine ALPH coins using the Blake3 algorithm. By following this guide, you can easily connect the AL3 to your network and start mining in no time. With its industry-leading hashing power, energy-efficient design, and trusted brand backing, the AL3 is a smart investment for both novice and experienced miners. Happy mining!