How to Perform Dust Maintenance on ICERIVER KAS KS5L Miner?
Cryptocurrency mining is a demanding operation that requires not only high-performance hardware but also meticulous maintenance to ensure longevity and efficiency. Among the many challenges miners face, dust accumulation is one of the most common yet often overlooked issues. Dust can clog fans, reduce airflow, and cause overheating, leading to decreased performance and even hardware failure. For operators of the ICERIVER KAS KS5L Miner, a cutting-edge device designed for the KHeavyHash algorithm, regular dust maintenance is essential to maintain its industry-leading performance and reliability. In this article, we’ll explore practical steps to perform dust maintenance on the ICERIVER KAS KS5L Miner, ensuring your mining operations run smoothly and profitably.
Why Dust Maintenance Matters for the ICERIVER KAS KS5L Miner
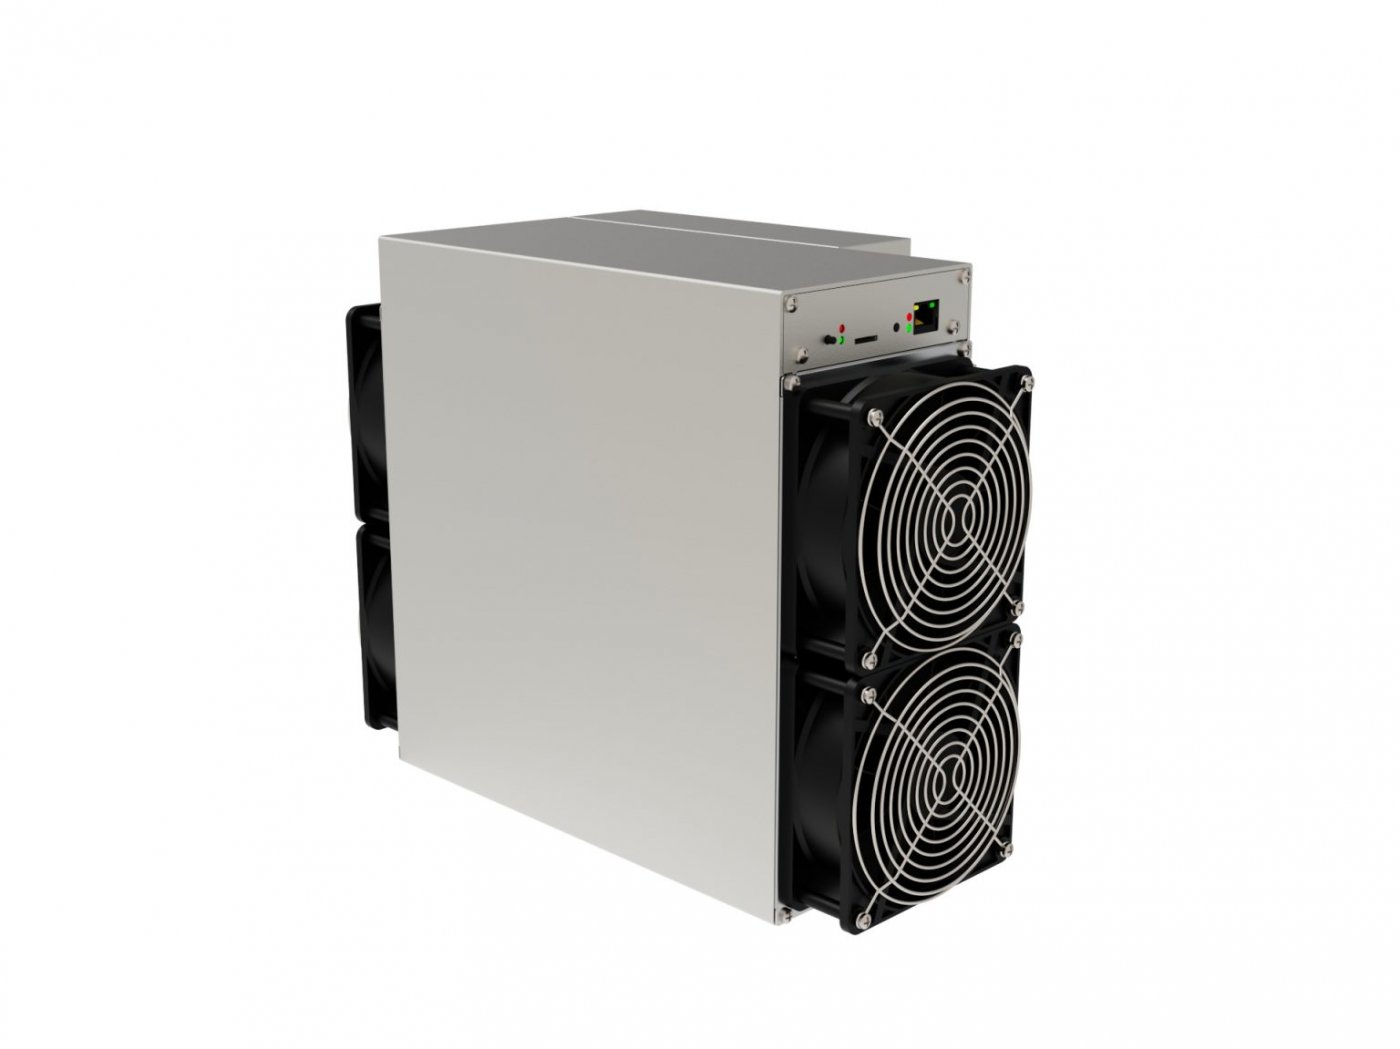
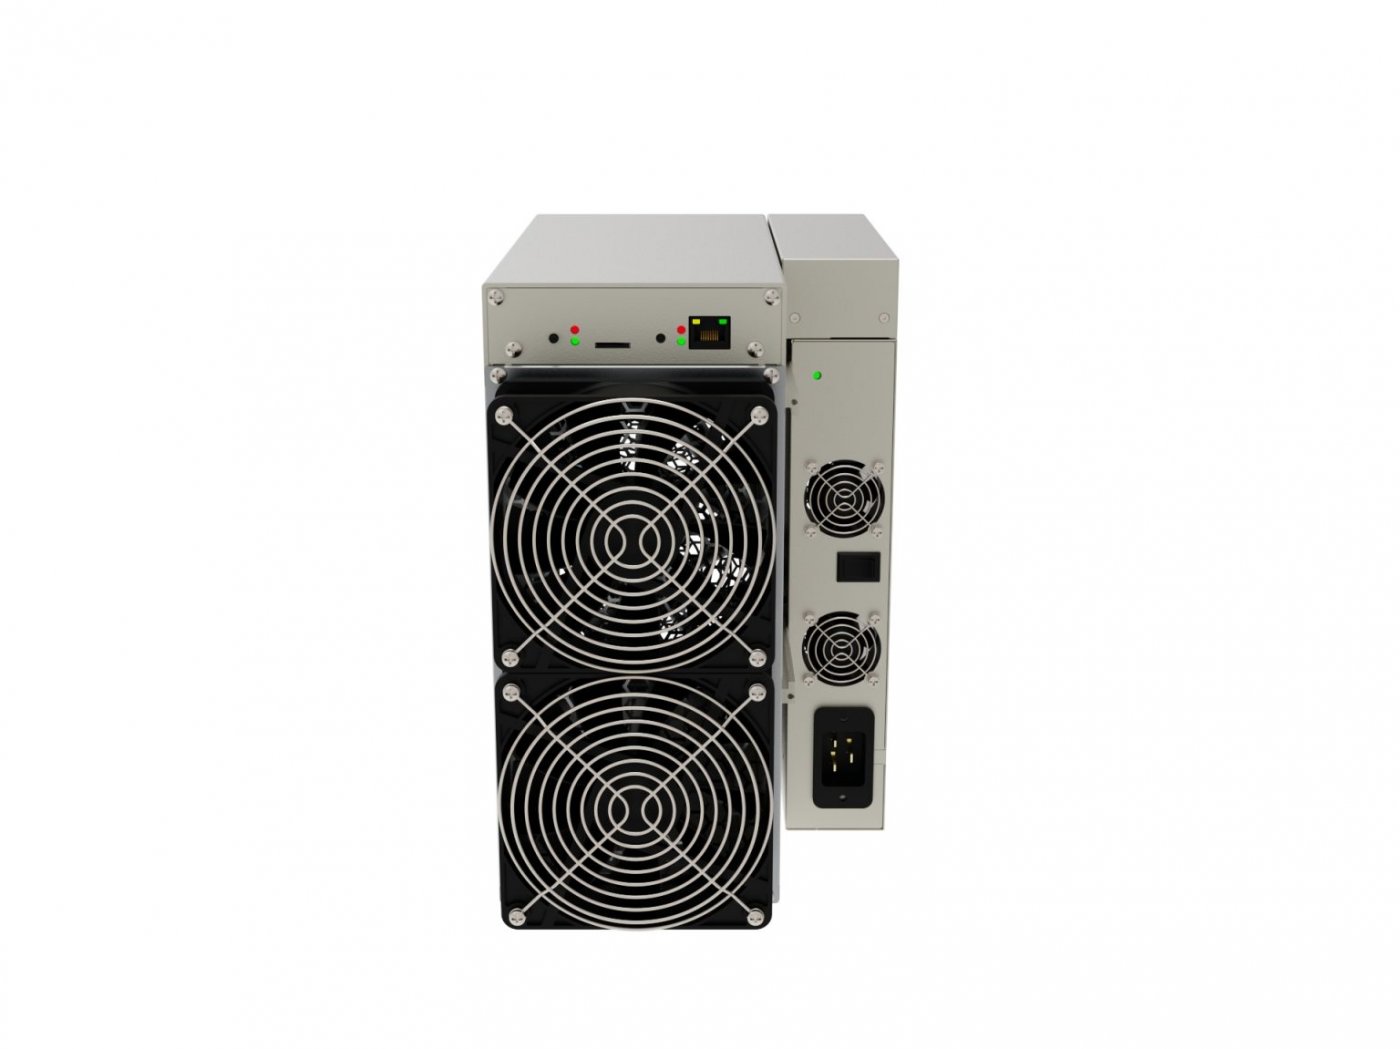
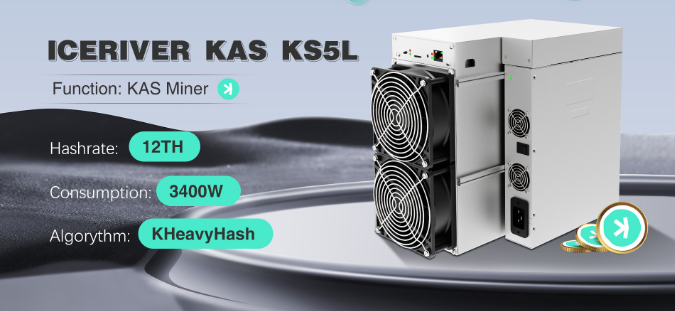
The ICERIVER KAS KS5L Miner is a powerhouse, delivering an impressive hashrate of 12TH/s (±10%) while consuming 3400W/h (±10%). Its robust construction and high-quality components make it a reliable choice for mining KAS cryptocurrency. However, like all mining equipment, it is susceptible to dust buildup, which can compromise its performance in several ways:

- Overheating: Dust blocks airflow, causing the miner’s internal components to overheat. This can lead to thermal throttling, reduced hashrate, or even permanent damage.
- Fan Failure: Dust can clog the miner’s cooling fans, forcing them to work harder and potentially fail prematurely.
- Reduced Lifespan: Accumulated dust can corrode circuits and degrade components over time, shortening the miner’s operational lifespan.
- Increased Energy Costs: Overheating and inefficient cooling can lead to higher power consumption, reducing profitability.
By performing regular dust maintenance, you can prevent these issues and ensure your ICERIVER KAS KS5L Miner operates at peak efficiency.
Tools and Materials Needed for Dust Maintenance
Before diving into the maintenance process, gather the following tools and materials:
- Compressed Air Canister: Ideal for blowing dust out of tight spaces without damaging components.
- Soft-Bristle Brush: Useful for gently removing dust from surfaces.
- Microfiber Cloth: For wiping down exterior surfaces.
- Isopropyl Alcohol (90% or higher): Effective for cleaning stubborn grime.
- Screwdriver Set: To open the miner’s casing if necessary.
- Anti-Static Wrist Strap: To prevent static discharge that could damage sensitive components.
- Vacuum Cleaner with a Brush Attachment: For cleaning the surrounding area.
Step-by-Step Guide to Dust Maintenance
1. Power Down and Unplug the Miner
Safety first! Before performing any maintenance, ensure the miner is powered down and unplugged from the power source. This prevents electrical hazards and protects the miner’s components.
2. Clean the Exterior
Use a microfiber cloth to wipe down the miner’s exterior. For stubborn dirt, lightly dampen the cloth with isopropyl alcohol. Pay special attention to vents and fan openings, as these areas are prone to dust buildup.
3. Open the Casing (If Necessary)
If dust has accumulated inside the miner, you may need to open the casing. Use a screwdriver to carefully remove the screws and access the internal components. Always wear an anti-static wrist strap to avoid damaging sensitive electronics.
4. Blow Out Dust with Compressed Air
Using a compressed air canister, blow dust out of the miner’s internal components. Focus on the following areas:
- Fans: Hold the fan blades in place while blowing air to prevent them from spinning uncontrollably.
- Heat Sinks: Dust trapped in heat sinks can impede cooling efficiency.
- Circuit Boards: Gently blow air across the boards to remove dust particles.
5. Brush Away Stubborn Dust
For areas where compressed air isn’t enough, use a soft-bristle brush to dislodge dust. Be gentle to avoid damaging components.
6. Clean the Surrounding Area
Dust in the miner’s environment can quickly accumulate again. Use a vacuum cleaner with a brush attachment to clean the floor, shelves, and other surfaces around the miner.
7. Reassemble and Test
Once the miner is clean, reassemble the casing and plug it back in. Power it on and monitor its performance to ensure everything is functioning correctly.
Tips for Preventing Dust Buildup
While regular maintenance is essential, you can also take proactive steps to minimize dust accumulation:
- Use Dust Filters: Install dust filters on the miner’s intake fans to trap dust before it enters the system.
- Optimize Ventilation: Ensure the mining area is well-ventilated to reduce dust levels.
- Elevate the Miner: Place the miner on a raised surface to keep it away from floor dust.
- Regular Cleaning Schedule: Establish a routine maintenance schedule, such as monthly or quarterly, depending on your environment.
The ICERIVER KAS KS5L Miner: Built for Durability and Ease of Maintenance
One of the standout features of the ICERIVER KAS KS5L Miner is its user-friendly design, which simplifies maintenance tasks. Its compact dimensions (370×195×290 mm) and lightweight build (15kg) make it easy to handle, while its sturdy construction ensures durability. Additionally, Iceriver’s commitment to quality means that spare parts and accessories are readily available, making repairs and maintenance hassle-free.
Conclusion
Performing regular dust maintenance on your ICERIVER KAS KS5L Miner is a small but crucial step in maximizing its performance and lifespan. By following the steps outlined in this guide, you can prevent dust-related issues and ensure your miner operates at its full potential. With its industry-leading hashrate, energy efficiency, and robust design, the ICERIVER KAS KS5L Miner is a valuable asset for any mining operation—keep it clean, and it will continue to deliver exceptional results for years to come.
Investing time in maintenance not only protects your hardware but also enhances your mining profitability. So, grab your tools, roll up your sleeves, and give your ICERIVER KAS KS5L Miner the care it deserves. Happy mining!