ICERIVER ALPH AL3 setup guide for beginners
As an experienced cryptocurrency miner, I’ve had the opportunity to work with various mining rigs and solutions over the years. Today, I’m excited to share my insights on the ICERIVER ALPH AL3, a state-of-the-art air-cooled mining rig designed for efficiently mining cryptocurrencies using the Blake3 algorithm.
The ICERIVER ALPH AL3 is a remarkable piece of engineering that has caught the attention of both novice and seasoned miners alike. Boasting an impressive hashrate of 15 Th/s (±10%), this miner stands out from the competition, delivering exceptional performance and profitability.
One of the key advantages of the ALPH AL3 is its energy efficiency. Despite its powerful hashing capabilities, the miner’s power consumption is relatively low, at 3500W (±10%). This means that miners can optimize their electricity costs while maximizing their mining rewards, leading to a faster return on investment (ROI).
The ALPH AL3’s user-friendly design is another standout feature that sets it apart. The intuitive interface and easy setup process make it an ideal choice for beginners entering the crypto mining space. Connecting the miner to your network via Ethernet allows for convenient remote management and monitoring, further enhancing the overall user experience.
What truly sets the ALPH AL3 apart, however, is its optimization for the Blake3 algorithm. As this algorithm gains traction and ALPH coins show great potential for appreciation, miners can capitalize on this opportunity by deploying the ICERIVER ALPH AL3 in their mining operations. This strategic alignment with the emerging Blake3 algorithm positions the ALPH AL3 as a future-proof investment in the dynamic world of cryptocurrency mining.
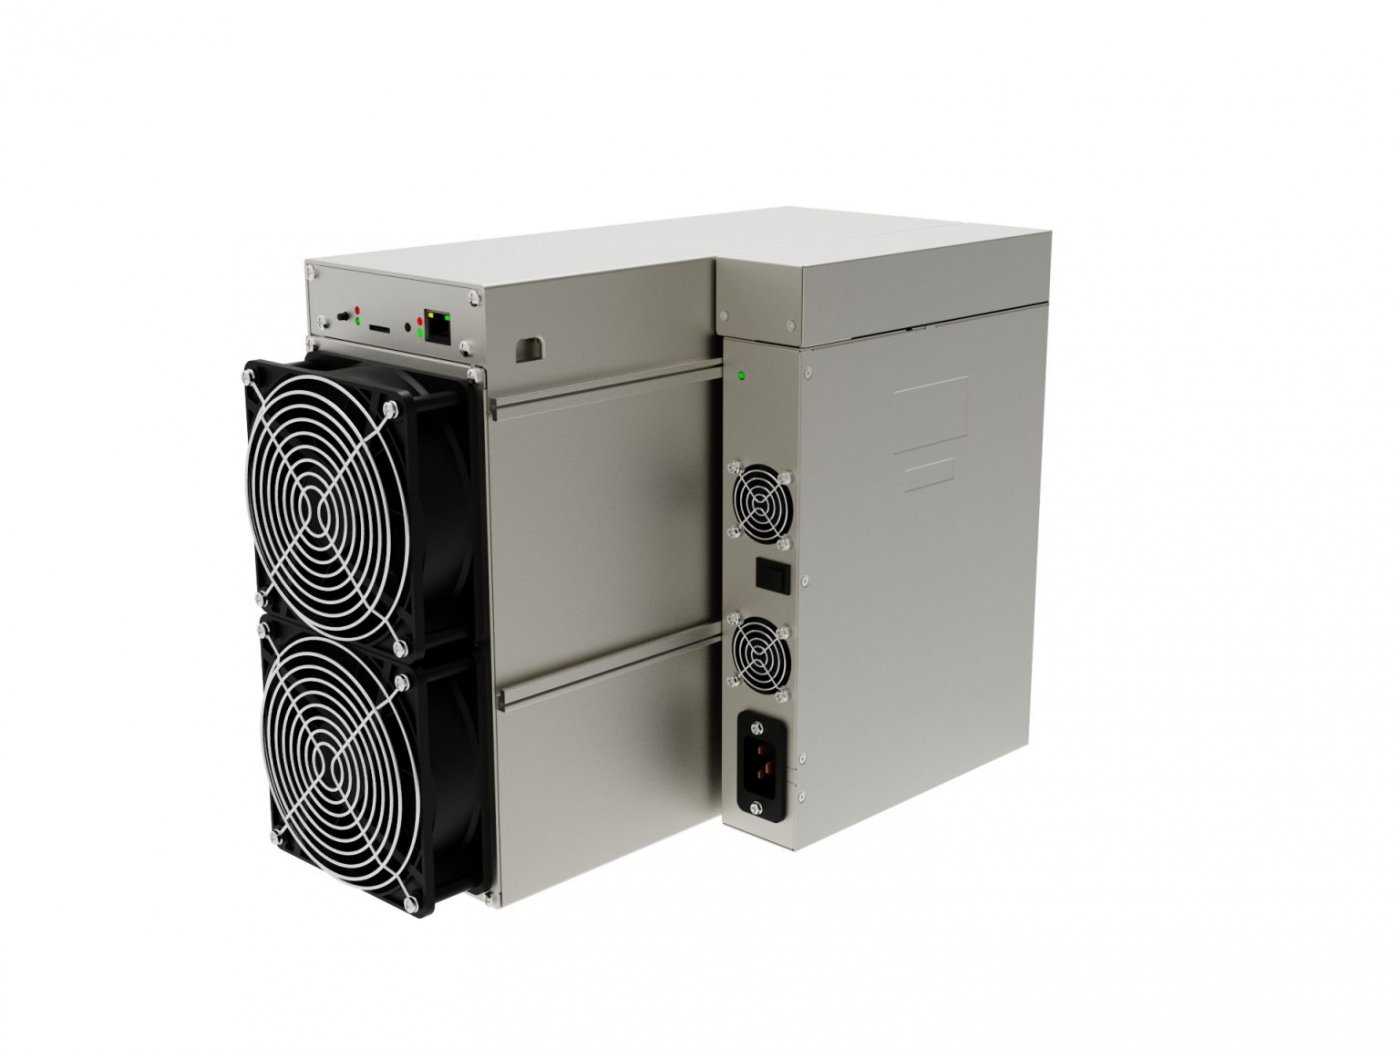
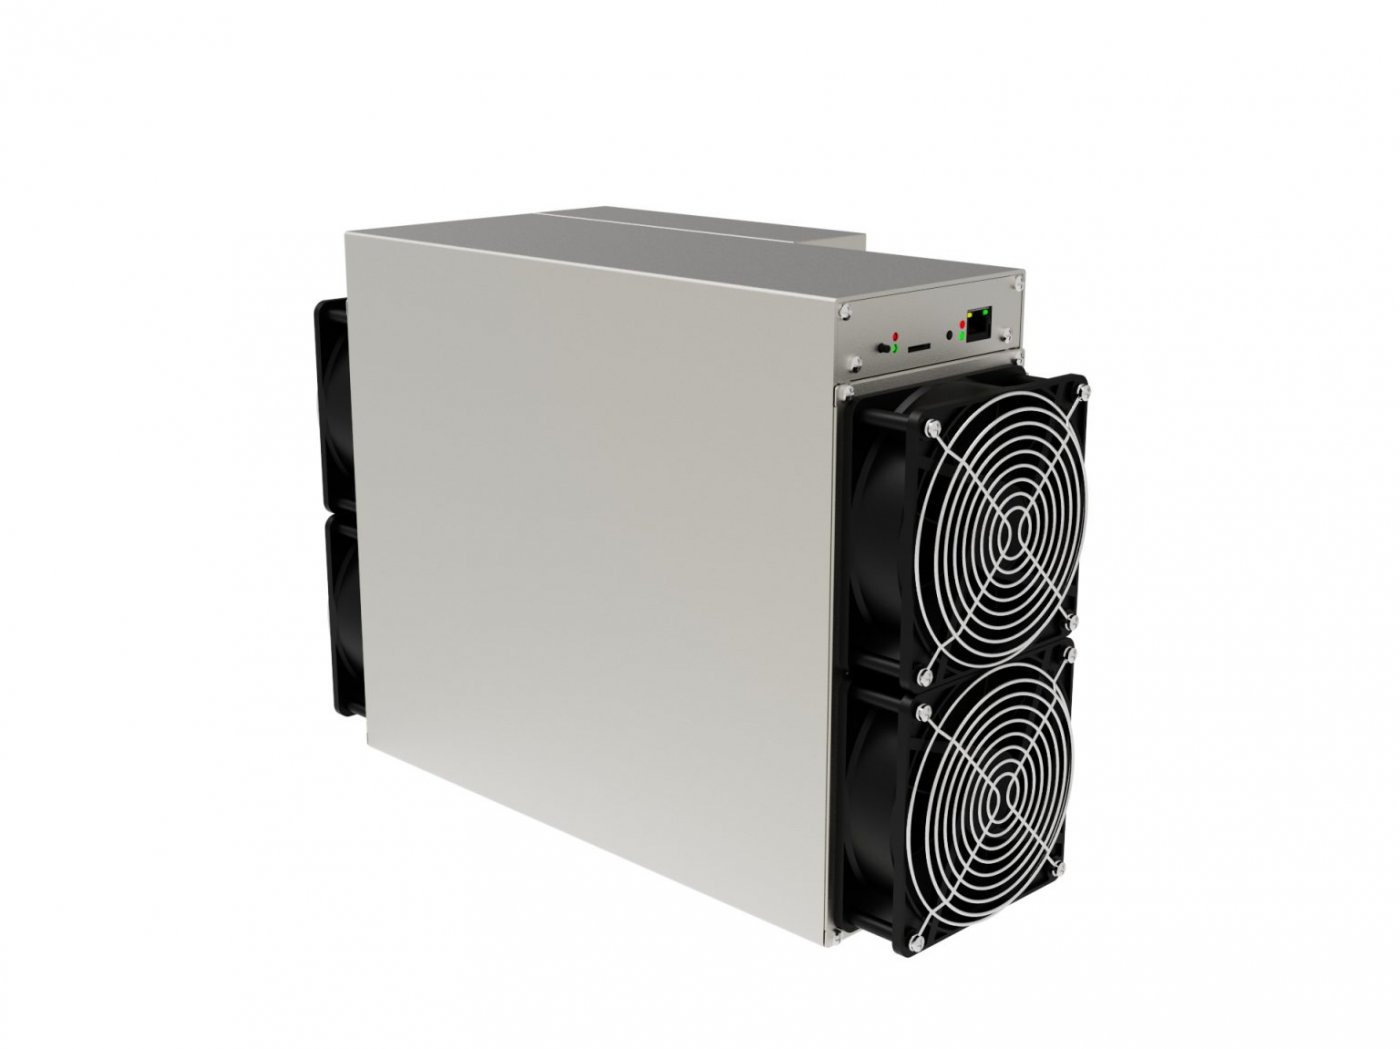
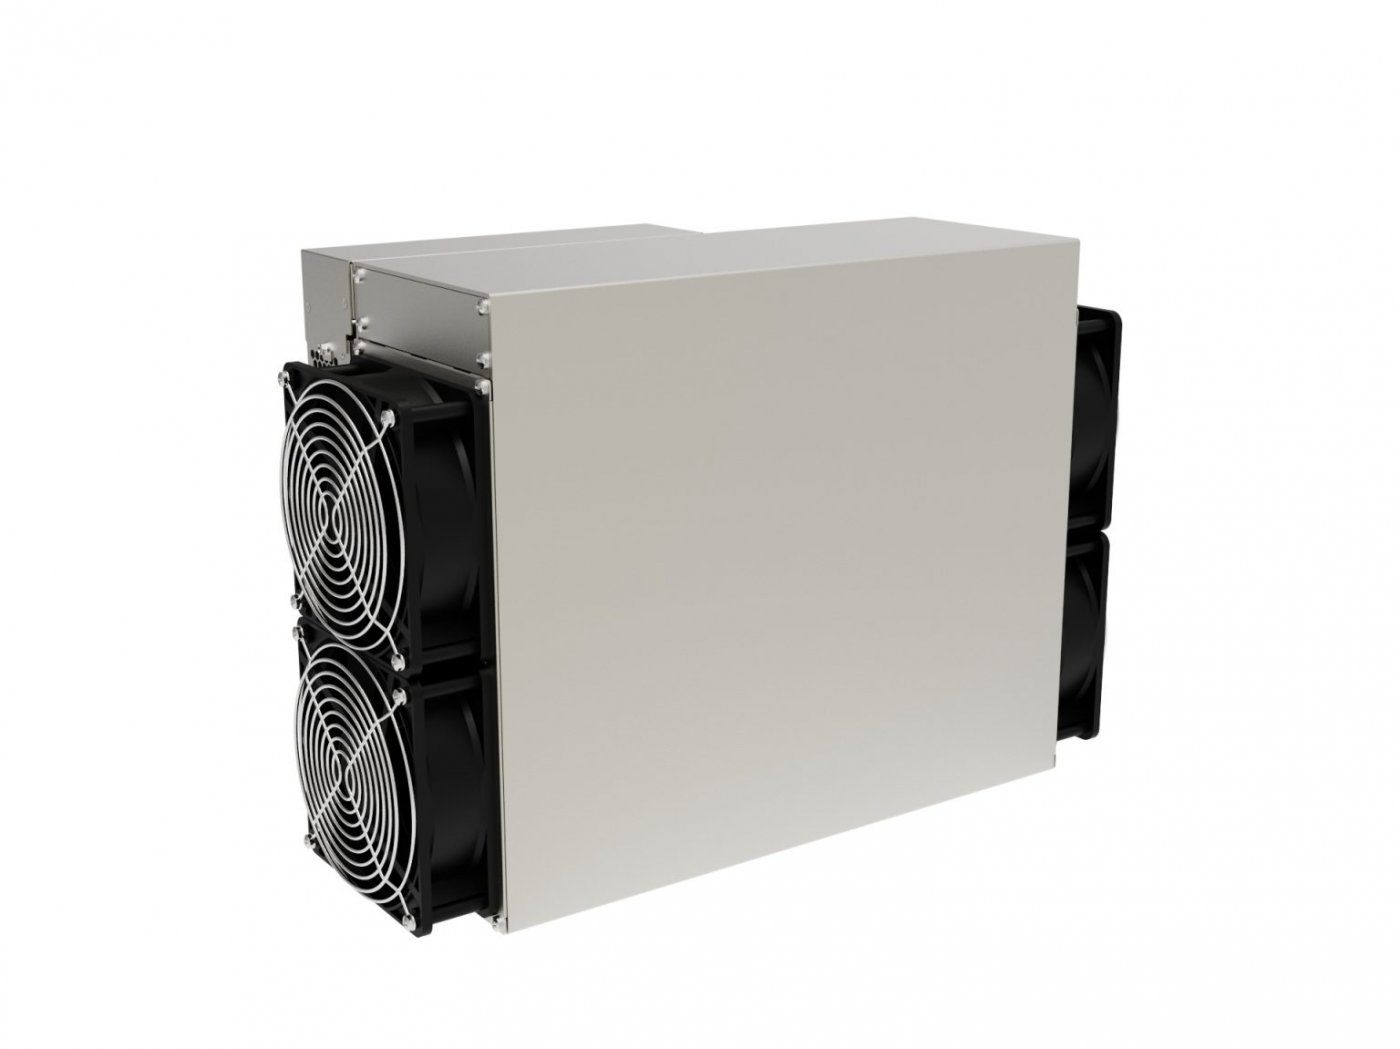
In terms of construction and reliability, the ALPH AL3 is built to withstand the demands of mining. Measuring 430×195×290mm and weighing 15.5kg, the miner’s sturdy design ensures reliable performance, even in challenging environments. The wide operating temperature range of 0°C to 35°C further enhances the ALPH AL3’s versatility and adaptability to various mining setups.
One of the most impressive aspects of the ICERIVER ALPH AL3 is the company’s commitment to after-sales support. With a comprehensive 180-day warranty and a dedicated team ready to assist with any technical issues or queries, miners can have peace of mind knowing that their investment is protected and backed by a reliable and responsive service.
Now, let’s dive into the setup process for the ICERIVER ALPH AL3. Whether you’re a beginner or an experienced miner, the following steps will guide you through the installation and configuration of this powerful mining rig.
1. Unpacking and Inspection:
– Carefully unpack the ICERIVER ALPH AL3 and inspect all the components to ensure there are no visible damages or missing parts.
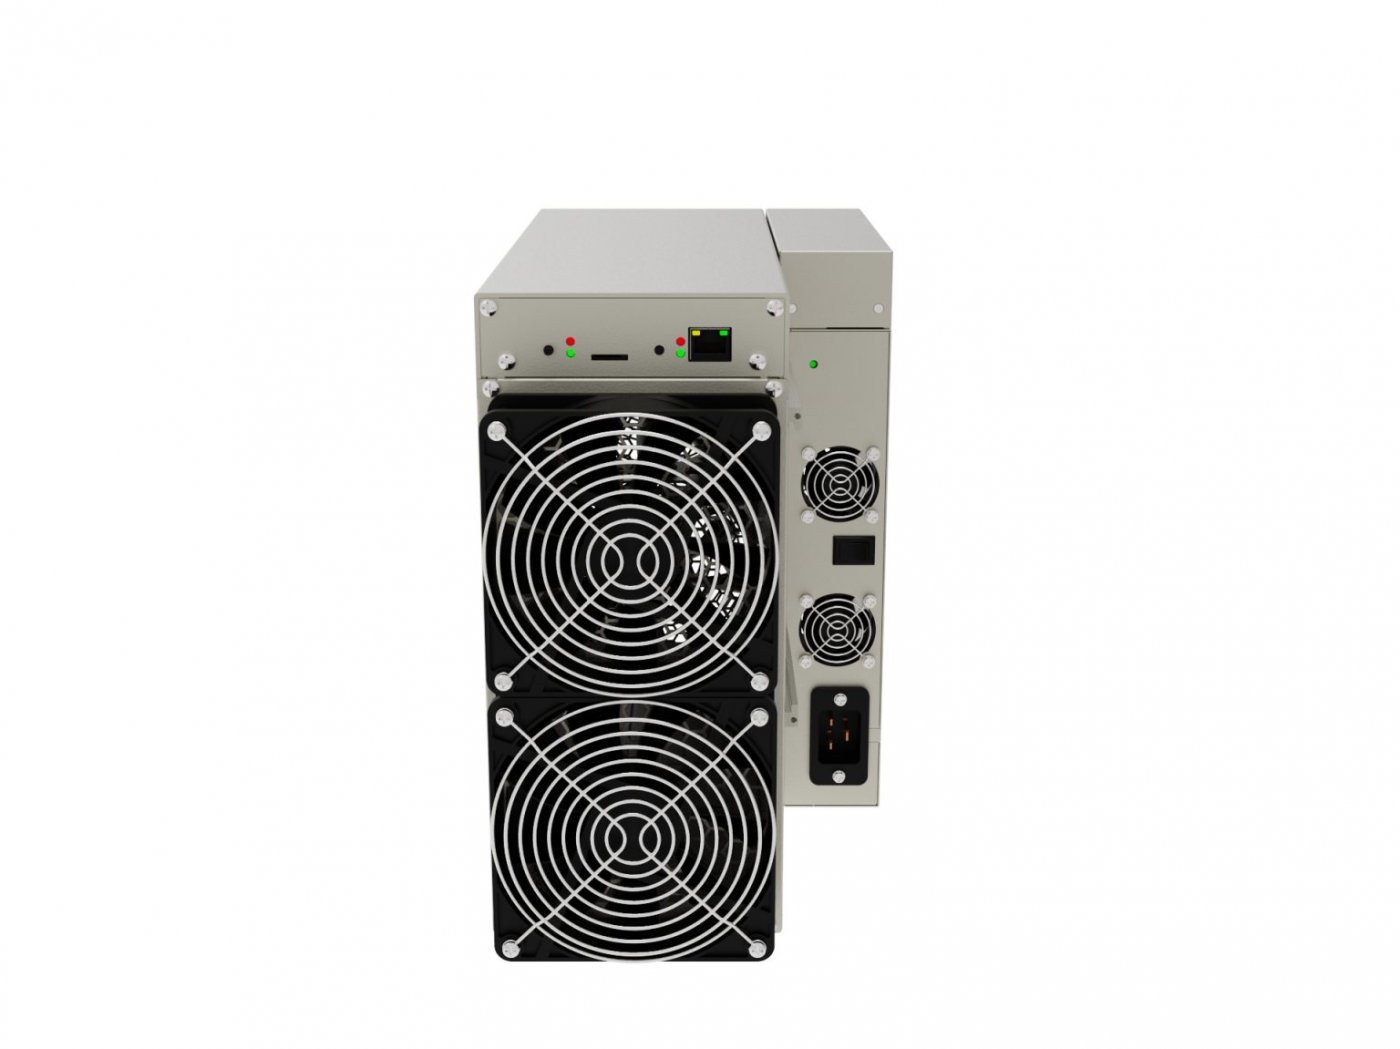
– Familiarize yourself with the miner’s various ports, buttons, and indicators, as this will aid in the setup process.
2. Network Connection:
– Connect the ALPH AL3 to your network using an Ethernet cable, ensuring a stable internet connection.
– If you’re using a wireless network, ensure that you have the necessary network credentials (SSID and password) ready.
3. Power Supply:
– Plug the ALPH AL3 into a power source that meets the miner’s voltage input range of 170-300V AC.
– Ensure that the power outlet can handle the miner’s power consumption of 3500W (±10%).
4. Initial Setup:
– Power on the ALPH AL3 and wait for the system to boot up.
– Access the miner’s web-based interface by entering the default IP address or hostname in your web browser.
– Follow the on-screen instructions to complete the initial setup, including network configuration, pool selection, and mining account setup.
5. Monitoring and Management:
– Use the ALPH AL3’s intuitive web interface to monitor the miner’s performance, including hashrate, temperature, and power consumption.
– Customize settings such as fan speed, overclock, and pool configuration to optimize the miner’s efficiency and profitability.
– Enable remote monitoring and management features to access and control the ALPH AL3 from anywhere, ensuring seamless oversight of your mining operations.
6. Maintenance and Troubleshooting:
– Regularly clean the ALPH AL3’s air intake and exhaust vents to maintain optimal airflow and prevent overheating.
– Replace any worn or damaged components, such as fans or power supply units, using the readily available spare parts offered by Minerfixes.
– Refer to the comprehensive user manual and ICERIVER’s dedicated after-sales support team for guidance on troubleshooting and maintenance.
By following these steps, you’ll have your ICERIVER ALPH AL3 up and running in no time, ready to harness the power of the Blake3 algorithm and capitalize on the potential of ALPH coins. The miner’s user-friendly design, energy efficiency, and robust construction make it an excellent choice for both beginner and experienced miners alike.
As you embark on your crypto mining journey with the ALPH AL3, remember that the key to success lies in staying informed, monitoring your mining operations, and making informed decisions to maximize your profitability. With the ICERIVER ALPH AL3 in your arsenal, you’ll be well on your way to unlocking the full potential of the Blake3 algorithm and securing your stake in the ever-evolving world of cryptocurrency mining.
|
Please feel free to contact me to assist you in resolving your issues: E-mail: Minerfixessales@gmail.com WhatsApp/WeChat:+86 15928044684
The services we offer include:
a.New and Used Miners b.Miner Accessories c.Miner Repair Courses d.Global Repair Stations e.Overclocking and Underclocking Services |

|